If you are trying to find answer to the above question, then you have found the right solution. Nothing is forever, not even emails! We have tried to get closer to our “forever” concept by developing what is known today as the: Mail Backup X.
For personal or professional reasons, having a backup, in general, is for most people a way of life, so why not try it for your emails?
You can be an Apple Mail, Outlook for Mac, Office 365, Thunderbird, Gmail or Yahoo user, either one, you can start backing up important emails to avoid any awkward situation in future!
Mail Backup X is more than just a backup tool for emails. It’s a tool to set automatic or specific backup intervals and search for any email you need. It also allows backup snapshots set to automatically copied over to Portable USB Drives. Its a series of software in one!
Step 1 : Please download and install the Mail Backup X Application on your Mac. Please follow the link for Install Instructions
Step 2 : Once the installation is completed. Launch Mail Backup X from the Applications / Quick Launch Menu
Step 3 : You may start the fully functional trial run for 15 days or activate it if you have already purchased a license.
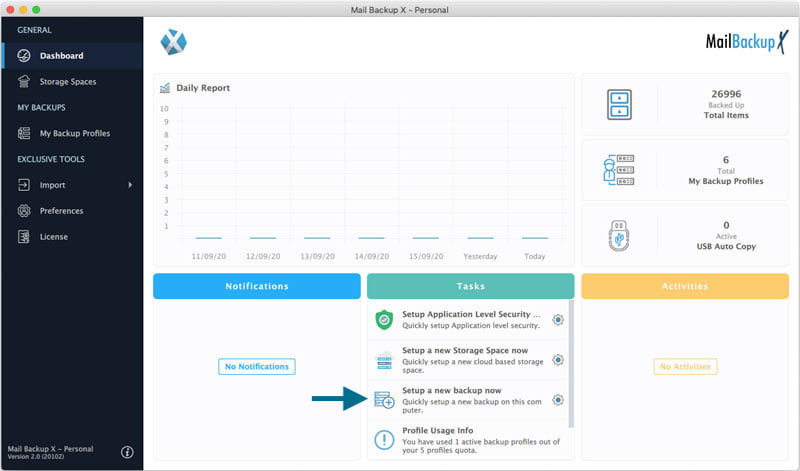
Step 4 : You May Choose to Setup a New Backup Profile from the Dashboard by Choosing option “Setup a New Backup”
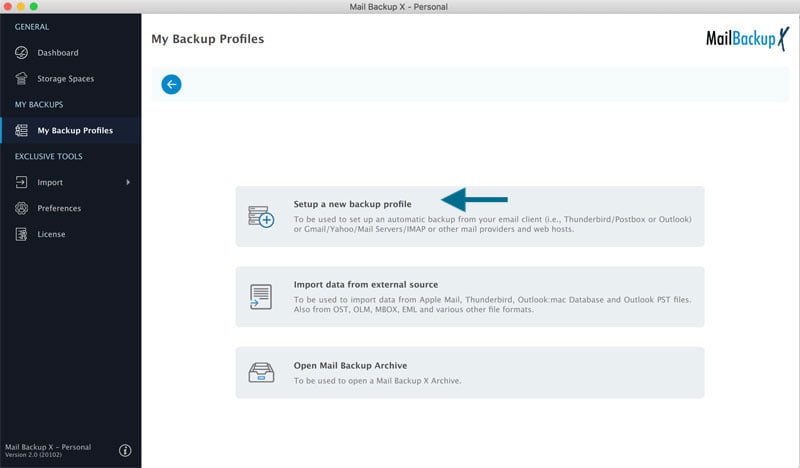
Or You May Click My Backup Profiles on the Left side Bar in Dashboard > and Click “Set up a new Backup Profile”
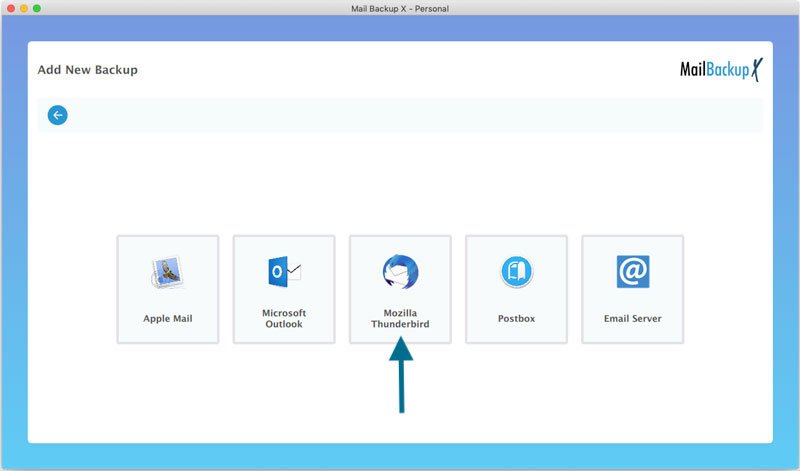
Step 5 : You Will be presented options of Mail Clients > Choose Mozilla Thunderbird Mac from the list of mail clients and proceed to next step.
Step 6 : You will be presented with folder structure from Mozilla Thunderbird to choose for backup on your Mac. Please select the folders you would like to be backed up from Mozilla Thunderbird Account.
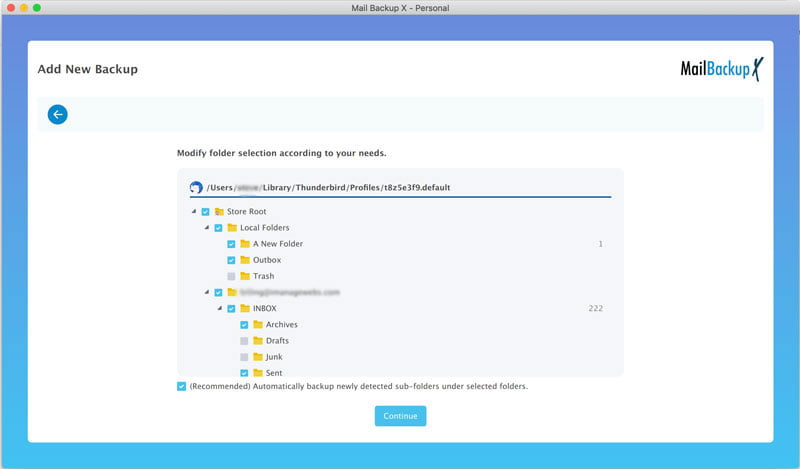
Please click Continue to proceed to next step.
Step 7 : Now you are presented with Advanced options like setting:
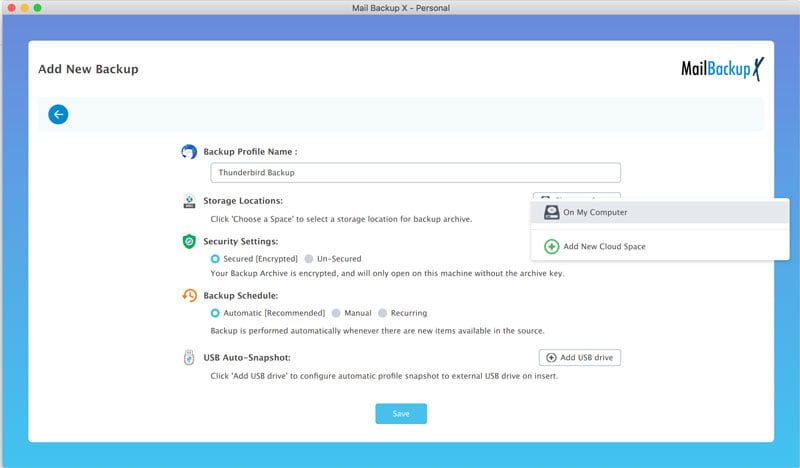
You can Set the location of backup to local disk drive or Cloud service by authenticating and adding Cloud Space (at Present Google Drive, DropBox and Microsoft One Drive are supported) . Click on Choose a Source next to Storage Locations, to pick a location to save your Thunderbird Mail Backup. Click Save to save the settings and proceed to next step.
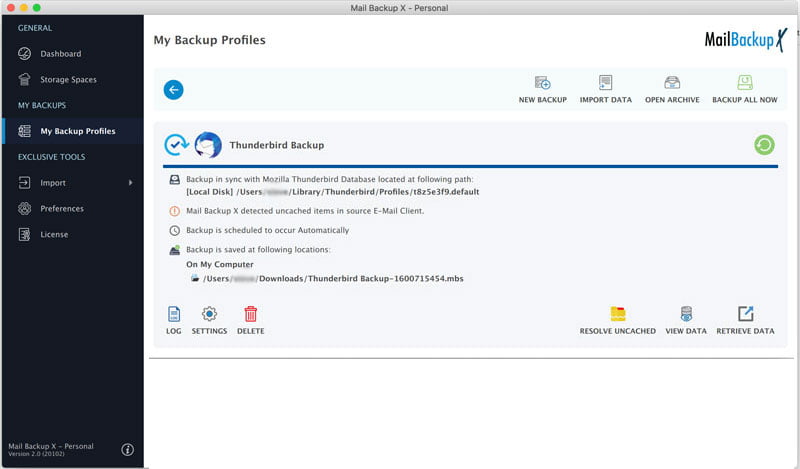
Step 8 : Backup Profile is set up and now your emails should have started to back up as per the options and settings you selected during the previous steps.
